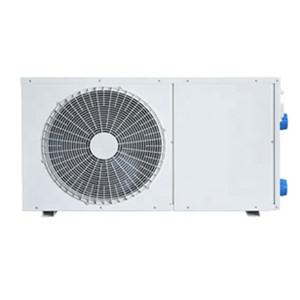
Heat Pump Check Valve Failure
A heat pump is a very versatile machine because it cools and heats
effortlessly. The device can perform these processes in several different
modes, but they are only activated when the critical component (the diverter
valve) is working properly.
Diverter valves don't usually fail, but when they do, it can cause a lot
of confusion when troubleshooting. There are three main factors that cause a
diverter valve to fail:
1. Valve stuck in heat or cool position.
2. The coil is broken.
3. Internal leakage of valve.
1. If the valve is stuck, it will not change from heating position to cooling
position and vice versa. Make sure the diverter valve is energized. Use a
voltmeter to make sure the voltage at the solenoid coil is correct, then hold a
small screwdriver close to the coil to see if there is a magnetic field. If the
coil is energized, check to make sure there is a pressure differential between
the high and low pressure sides when the unit is operating. The diverter valve
is a pilot operated valve that requires a differential pressure to operate.
If you suspect the valve is stuck, take a soft object, such as the
plastic handle of a screwdriver, and tap either side of the valve body. This
releases the valve. If so, force the valve to change position several times to
confirm that it operates freely. If so, the problem might be fixed. If the
problem recurs, the valve should be replaced.
2. Defective solenoid will not energize valve in cooling mode. (Some
manufacturers energize the valve in heat mode, be sure to check). This can be
determined by testing with the voltmeter and screwdriver described above. If
the valve has voltage and no magnetic field is present, the coil is open. In
this case, just replace the solenoid coil.
3. Internal leaks in valves are difficult to troubleshoot and are often
confused with compressors not pumping to capacity. A diverter valve leak and a
compressor failure have the same symptoms - both the system's ability to heat
and cool is reduced. This is because the compressor continues to pump gas in
and around the leak valve and loses usable cooling capacity in the process.
When the diverter valve leaks, it leaks from the high side to the low
side. To check the valve for leaks, measure the temperature difference between
the evaporator's suction line and the permanent suction line on the reversing
valve (usually the middle line at the bottom). The temperature difference
should not exceed 3F. If the temperature difference is greater than 3F, the
valve must be replaced.
NOTE – Measure the temperature at least 5 inches from the valve body to
prevent the temperature of the valve body from affecting your readings.
With these three procedures in mind, you can DIY troubleshoot when you
encounter a bad diverter valve.


